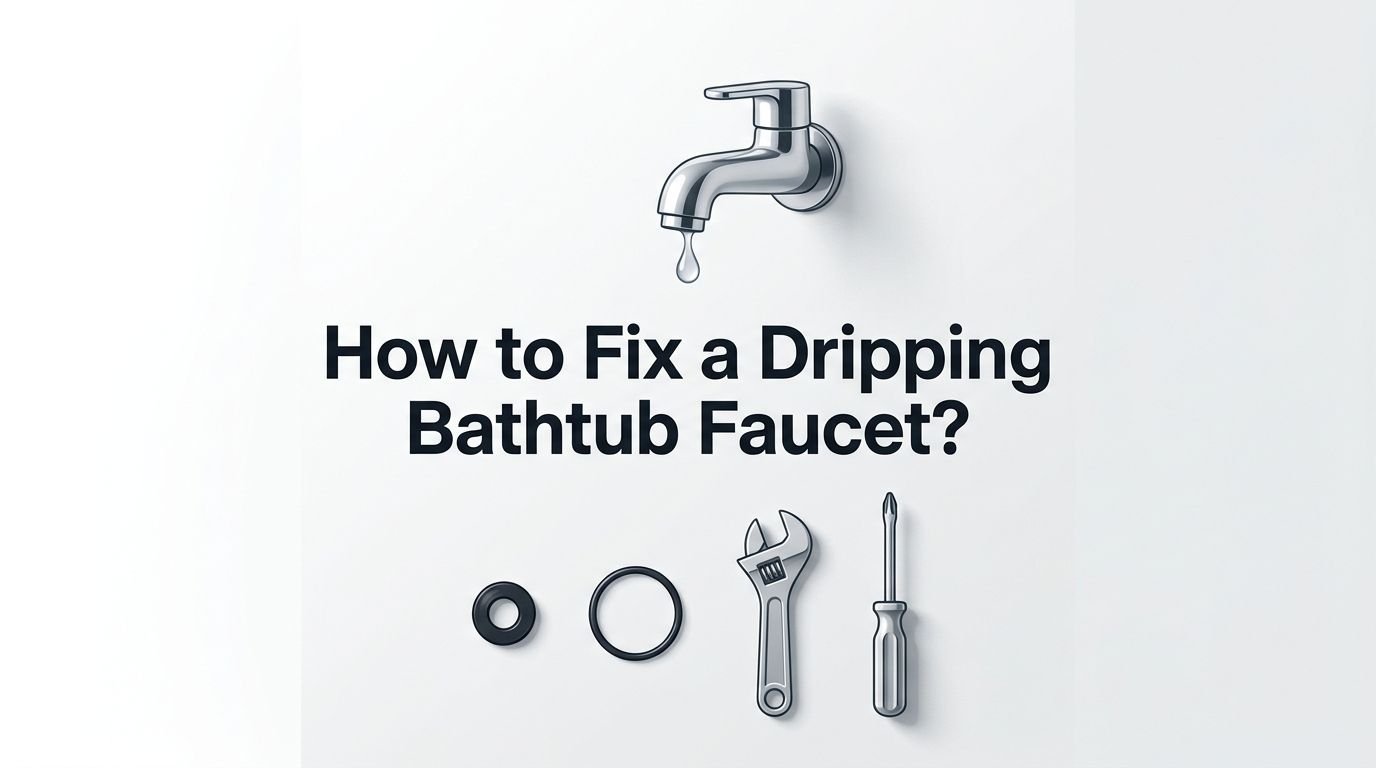
How to Fix a Dripping Bathtub Faucet? A Complete Guide
That steady drip, drip, drip from your bathtub faucet is more than just annoying. A single dripping faucet can waste over 3,000 gallons of water per year and add up to $100 or more to your annual water bill.
The good news? You probably do not need a plumber. Most dripping bathtub faucets are caused by a few simple problems that any homeowner can fix in under an hour with basic tools.
This guide walks you through every step of diagnosing and repairing your leaky bathtub faucet. Whether you have a single handle or a two handle faucet, a compression valve or a cartridge system, the fix is well within your reach. Read on to stop that drip and save your money.
In a Nutshell
- A dripping bathtub faucet usually comes from a worn washer, a damaged cartridge, or a corroded valve seat. These internal parts wear down over time from constant water pressure and regular use. Replacing them is the most common and effective fix.
- You need to identify your faucet type before you begin. Bathtub faucets use one of four main valve types: compression, ball, cartridge, or ceramic disc. Each type has a different internal setup. The repair method depends on knowing which one you have.
- The tools for this repair are basic and affordable. You will need an adjustable wrench, a screwdriver set, plumber’s grease, and replacement parts that typically cost between $5 and $20. The entire job can save you the $100 to $400 a professional plumber would charge.
- Always shut off the water supply before you start. This is the most important safety step. Open the faucet after shutting off the water to drain any remaining pressure from the lines.
- If the leak returns after your repair, the valve seat may be damaged. A pitted or corroded valve seat prevents new washers from sealing properly. You may need to resurface or replace the seat.
- Know your limits. If you find corroded pipes, cracked plumbing behind the wall, or a leak that does not stop after replacing parts, call a licensed plumber to avoid costly water damage.
Why Your Bathtub Faucet Is Dripping
The most common reason a bathtub faucet drips is internal wear and tear. Every time you turn the faucet on and off, rubber washers, O rings, and seals compress against metal surfaces. Over months and years, these parts crack, harden, or deform.
A worn rubber washer is the number one cause in compression style faucets. In cartridge faucets, the cartridge itself can crack or collect mineral buildup. Hard water accelerates this process because calcium and lime deposits erode seals faster.
A corroded valve seat is another frequent culprit. The valve seat is the connection point between the faucet and the internal mechanism. If it becomes rough or pitted, even a brand new washer will not create a tight seal. High water pressure can also contribute to faucet drips by putting excess force on internal components.
Identify Your Bathtub Faucet Type
Before you pick up a wrench, you need to figure out what kind of faucet you have. There are four main types of bathtub faucet valves, and each one requires a slightly different repair approach.
Compression faucets are the oldest and most common type in older homes. They have two handles and use a rubber washer that presses against a valve seat to stop water flow. Cartridge faucets can have one or two handles and use a removable cartridge to control flow.
Ball valve faucets use a single handle and rely on a rotating ball with spring loaded seals. Ceramic disc faucets use two ceramic plates that slide over each other. You can usually determine your type by counting the handles and checking the brand name on the faucet trim plate.
Tools and Materials You Will Need
Gathering the right tools before you start will make the job faster and smoother. Most of these items are probably already in your toolbox.
Essential tools include: a flathead screwdriver, a Phillips head screwdriver, an adjustable wrench, channel lock pliers, and a socket wrench or shower valve socket. You will also want plumber’s grease to lubricate reassembled parts and a clean rag to protect chrome finishes from scratches.
For replacement parts, bring your old washer, O ring, or cartridge to the hardware store to find an exact match. Buying the wrong size is the most common mistake DIYers make. A replacement washer typically costs under $2, while a full cartridge replacement runs between $10 and $20.
Step 1: Shut Off the Water Supply
This step is absolutely critical. Working on a faucet with the water supply still on can result in a flooded bathroom and potential water damage to floors and walls.
Look for the shut off valves near your bathtub. They are often located behind an access panel on the other side of the wall from the tub. If you cannot find dedicated shut off valves, turn off the main water supply for your home.
Once the water is off, open the bathtub faucet fully to drain any remaining water from the lines. This releases pressure and prevents water from spraying when you remove parts. Place a towel in the tub drain to catch any small screws or parts that might fall during the repair.
Step 2: Remove the Faucet Handle
Start by locating the screw that holds the handle in place. On many faucets, this screw hides behind a decorative cap or button on the face of the handle. Use a flathead screwdriver to gently pry off the cap.
Remove the screw with the appropriate screwdriver. Then pull the handle straight out from the wall. If the handle is stuck, avoid forcing it. Mineral buildup often bonds the handle to the stem over time.
Apply a penetrating lubricant and let it sit for 10 to 15 minutes. You can also use a handle puller tool for stubborn handles. Be careful not to use excessive force, which can damage the valve stem or the wall tile behind the handle.
Pros of DIY handle removal: Saves money, straightforward process, no special skills required.
Cons of DIY handle removal: Stuck handles can be frustrating, risk of damaging tile or trim if forced.
Step 3: Inspect and Remove the Valve Stem or Cartridge
With the handle off, you will see the valve stem (in compression faucets) or the cartridge (in cartridge faucets). The stem or cartridge is the core component that controls water flow.
For compression faucets, use a socket wrench or adjustable wrench to unscrew the packing nut and pull the stem assembly straight out. For cartridge faucets, remove the retaining clip or nut that holds the cartridge in place. Then pull the cartridge out with pliers.
Examine the removed part carefully. Look for cracks, worn spots, mineral buildup, or deformed rubber seals. Take a photo of the stem or cartridge with your phone. This reference helps you buy the correct replacement at the hardware store.
Step 4: Replace the Washer or Cartridge
This is where the actual fix happens. For compression faucets, look at the bottom of the valve stem. You will see a small rubber washer held in place by a brass screw. Remove the screw and pop out the old washer.
Press the new washer into place and secure it with the screw. Make sure the replacement washer matches the exact size and shape of the original. A washer that is too small or too large will leak again immediately.
For cartridge faucets, simply insert the new cartridge in the same orientation as the old one. Most cartridges have a notch or alignment mark that must face a specific direction. Apply a thin layer of plumber’s grease to the O rings on the new cartridge for a smooth fit and a better seal.
Pros of washer replacement: Extremely cheap (under $2), quick to complete, effective for most drips.
Cons of washer replacement: Only works if the washer was the actual problem, may need to replace the valve seat too.
Pros of cartridge replacement: Fixes most single handle leaks, new cartridge lasts years, relatively easy.
Cons of cartridge replacement: Cartridges cost more ($10 to $20), must match exact brand and model.
Step 5: Check and Repair the Valve Seat
If you replaced the washer but the drip continues, the valve seat is likely damaged. The valve seat is the metal surface inside the faucet body where the washer presses to create a seal.
Run your finger over the valve seat surface. If it feels rough, pitted, or grooved, it needs attention. You have two options. A valve seat grinder (also called a seat dresser) can resurface a damaged seat by smoothing out minor imperfections.
If the valve seat is removable, you can unscrew it with a seat wrench and replace it entirely with a new one. This step is often overlooked by DIYers, which is why some faucets start dripping again within a few weeks of a washer change. A smooth valve seat paired with a fresh washer creates a watertight seal that lasts.
Step 6: Reassemble the Faucet
Now it is time to put everything back together. Apply plumber’s grease to the stem threads, O rings, and any moving parts. This lubricant helps the components move smoothly and creates a secondary moisture barrier.
Slide the valve stem or cartridge back into the faucet body. Tighten the packing nut or retaining clip securely, but do not overtighten. Excess force can crack the valve body or damage threads. Hand tight plus a quarter turn with a wrench is usually enough.
Replace the faucet handle and secure it with the screw. Snap the decorative cap back into place. Double check that the handle turns smoothly and sits straight on the wall.
Step 7: Turn On the Water and Test
With the faucet reassembled, slowly turn the water supply back on. Open the valves gradually to avoid sudden pressure surges that could dislodge your new parts.
Turn the bathtub faucet on fully and let it run for 30 seconds. Then turn it off completely. Watch the spout carefully for at least two full minutes. A small drip right after reassembly may stop on its own as the new washer seats itself. But a steady drip means something still needs attention.
If the drip continues, turn the water off again and recheck your work. Common issues include a washer installed upside down, a cartridge that is not fully seated, or a packing nut that is too loose. Make adjustments and test again.
Fixing a Drip From the Tub Spout Itself
Sometimes the drip comes from the tub spout rather than the faucet handles. This is a different problem. A spout that drips after you turn off the shower usually points to a faulty diverter valve.
The diverter is the mechanism that redirects water from the tub spout up to the showerhead. If the diverter gate does not close fully, water trickles from the spout after use. On many tub spouts, the diverter is built into the spout itself.
In this case, the easiest fix is to replace the entire tub spout. Most tub spouts either screw onto a threaded pipe or slide onto a copper stub and are held by a set screw. Replacing one takes about five minutes once the old one is removed.
Pros of replacing the spout: Fixes diverter leaks completely, inexpensive ($10 to $30), fast installation.
Cons of replacing the spout: Must match the correct connection type (threaded or slip on), removal of old spouts can be difficult if corroded.
When to Call a Professional Plumber
Not every bathtub faucet drip is a DIY job. You should call a licensed plumber if you notice water damage behind the wall, such as bubbling paint, soft drywall, or mold growth. These signs suggest a leak inside the wall that goes beyond a simple faucet repair.
You should also call a professional if the valve body itself is cracked or corroded. Replacing a valve body often requires cutting into the wall and soldering new pipe connections. This is not a beginner level repair.
If you have already replaced the washer, cartridge, and valve seat and the faucet still drips, a plumber can diagnose less obvious causes like excessive water pressure or problems deeper in the plumbing system. Professional bathtub faucet repairs typically cost $100 to $400 depending on the issue and your location.
Pros of hiring a plumber: Expert diagnosis, guaranteed work, handles complex issues safely.
Cons of hiring a plumber: Costs significantly more than DIY, scheduling wait times, may not be needed for simple fixes.
Preventing Future Bathtub Faucet Drips
Prevention saves you from dealing with another drip down the road. One of the best habits is to avoid overtightening the faucet handles when you turn off the water. Cranking the handle too hard accelerates washer wear.
If you have hard water, consider installing a water softener or regularly cleaning faucet components to remove mineral buildup. Calcium deposits are a leading cause of premature seal failure in all faucet types.
Inspect your faucet internals once a year. Pull the handles off and check the condition of washers and O rings. Replacing a $1 washer proactively is much easier than dealing with a midnight drip that keeps you awake. Maintaining moderate water pressure (below 80 PSI) also extends the life of all faucet components.
Frequently Asked Questions
How much water does a dripping bathtub faucet waste?
A single dripping faucet can waste over 3,000 gallons of water per year. Faster drips at around 120 drops per minute can waste more than 11 gallons per day. This adds up to a noticeable increase in your water bill, potentially costing $60 to $100 or more annually depending on your local water rates and the severity of the drip.
Can I fix a dripping bathtub faucet without turning off the water?
No. You should always turn off the water supply before attempting any faucet repair. Working on a faucet with live water pressure can cause flooding, property damage, and make it impossible to remove and inspect parts. If you cannot find the bathroom shut off valves, turn off the main water supply for the entire house.
How long does it take to fix a dripping bathtub faucet?
Most DIY bathtub faucet repairs take 30 minutes to one hour. Simple washer replacements on compression faucets can be done in 15 to 20 minutes. Cartridge replacements may take slightly longer, especially if the cartridge is stuck from mineral buildup. First time DIYers should allow extra time for identifying parts and making a trip to the hardware store.
Why does my bathtub faucet drip only when the shower is on?
This usually indicates a faulty diverter valve. The diverter redirects water from the tub spout to the showerhead. If the diverter gate is worn or damaged, it cannot fully block water flow to the spout while the shower runs. Replacing the diverter or the entire tub spout typically solves this problem.
How much does a plumber charge to fix a dripping bathtub faucet?
Professional plumber rates for fixing a leaky bathtub faucet range from $100 to $400. The cost depends on the faucet type, the replacement parts needed, your geographic location, and whether the plumber encounters additional issues like corroded pipes or a damaged valve body. Simple washer replacements fall on the lower end, while full cartridge or valve replacements cost more.
Do I need to replace the entire faucet if it drips?
In most cases, no. A dripping faucet usually needs only a new washer, O ring, or cartridge. Full faucet replacement is only necessary if the valve body is cracked, severely corroded, or if replacement parts for your specific model are no longer available. Repairing individual components is always the more cost effective first step.