How to Fix Foundation Cracks by Yourself? Complete DIY Guide
You just spotted a crack running down your basement wall. Your stomach drops. You start imagining the worst: structural collapse, massive repair bills, and months of construction chaos.
But here is the good news. Most minor foundation cracks are fixable without hiring a professional. Thousands of homeowners successfully repair small cracks every year using basic tools and affordable materials.
Foundation cracks are extremely common. Concrete naturally shrinks as it cures, soil shifts over time, and water pressure builds up against basement walls. These forces create cracks that range from harmless hairlines to serious structural concerns. The key is knowing which cracks you can handle yourself and which ones need expert attention.
In a Nutshell
- Most hairline and vertical cracks under 1/4 inch wide are safe to repair yourself. These cracks usually result from normal concrete shrinkage and settling. They do not signal a structural emergency, but you should still seal them to prevent water from entering your basement or crawl space.
- Epoxy injection works best for dry, non moving cracks because it bonds the concrete back together and restores structural strength. Polyurethane foam injection is the better choice for damp or actively leaking cracks because it expands to fill gaps and cures even in wet conditions.
- Hydraulic cement offers a quick and affordable fix for small cracks and holes, especially where water is seeping through. It sets rapidly and creates a waterproof seal. However, it does not restore structural strength like epoxy does.
- Always clean and prepare the crack thoroughly before applying any repair material. Skipping this step is the number one reason DIY repairs fail. Loose debris, dust, and moisture can prevent proper bonding and cause the repair to crack again within months.
- Horizontal cracks, stair step cracks, and any crack wider than 1/4 inch should be evaluated by a professional. These patterns often indicate serious soil pressure or foundation movement that surface repairs cannot solve. Attempting a DIY fix on these cracks can mask a growing structural problem.
- Monitor your repairs over the following months. Mark the ends of cracks with pencil lines and dates. If a repaired crack reopens or continues to grow, contact a foundation specialist right away. Early detection saves you from costly structural repairs later.
Understanding Why Foundation Cracks Happen
Foundation cracks form for several reasons, and understanding the cause helps you choose the right repair method. Concrete shrinkage is the most common cause. As poured concrete dries and cures, it loses moisture and contracts slightly. This natural process creates thin vertical cracks that are usually harmless.
Soil movement is another major factor. Clay soils expand when wet and shrink when dry. This constant push and pull cycle puts stress on foundation walls. Frost heave in colder climates creates similar pressure when moisture in the soil freezes and expands.
Hydrostatic pressure occurs when groundwater builds up against basement walls. This water pressure can force its way through any weakness in the concrete. Poor drainage around your home makes this problem worse.
Settling happens when the soil beneath your foundation compresses unevenly. One side of your home may sink slightly more than the other, creating diagonal or stair step cracks. Heavy loads, tree roots, and changes in the water table all contribute to uneven settling.
Identifying Different Types of Foundation Cracks
Before you grab any tools, you need to identify what kind of crack you are dealing with. Vertical cracks run straight up and down or slightly angled within 30 degrees of vertical. These are the most common and usually the least serious. They typically result from concrete shrinkage.
Horizontal cracks run side to side along the foundation wall. These are the most concerning type because they suggest outside soil or water is pushing inward against the wall. A bowing wall with horizontal cracks needs professional attention immediately.
Diagonal cracks run at a 30 to 75 degree angle and often appear near corners of windows and doors. These usually indicate differential settling, where one part of the foundation sinks more than another.
Stair step cracks follow the mortar joints in block or brick foundations, creating a zigzag pattern. These also point to settling issues. Hairline cracks are extremely thin surface cracks, often less than 1/16 inch wide. They are almost always cosmetic and easy to fix.
Knowing Which Cracks You Can Fix Yourself
You can safely repair most vertical and diagonal cracks that are less than 1/4 inch wide. Hairline cracks and minor shrinkage cracks fall well within DIY territory. These cracks are stable, meaning they are not actively growing or changing.
Cracks that only appear on the surface and do not extend through the entire wall thickness are also good candidates for DIY repair. You can test this by checking both sides of the wall. If the crack shows on the interior but not the exterior, it may be a surface issue only.
Leave these cracks to the professionals: any horizontal crack, any crack wider than 1/4 inch, cracks that are actively leaking large amounts of water, and cracks accompanied by wall bowing or displacement. Stair step cracks that extend across multiple blocks also warrant a professional inspection.
If you are unsure, take photos and measure the crack width with a ruler. Write down the date and mark the crack ends with a pencil. Check it again in two weeks. A crack that is growing needs expert evaluation, even if it seems small right now.
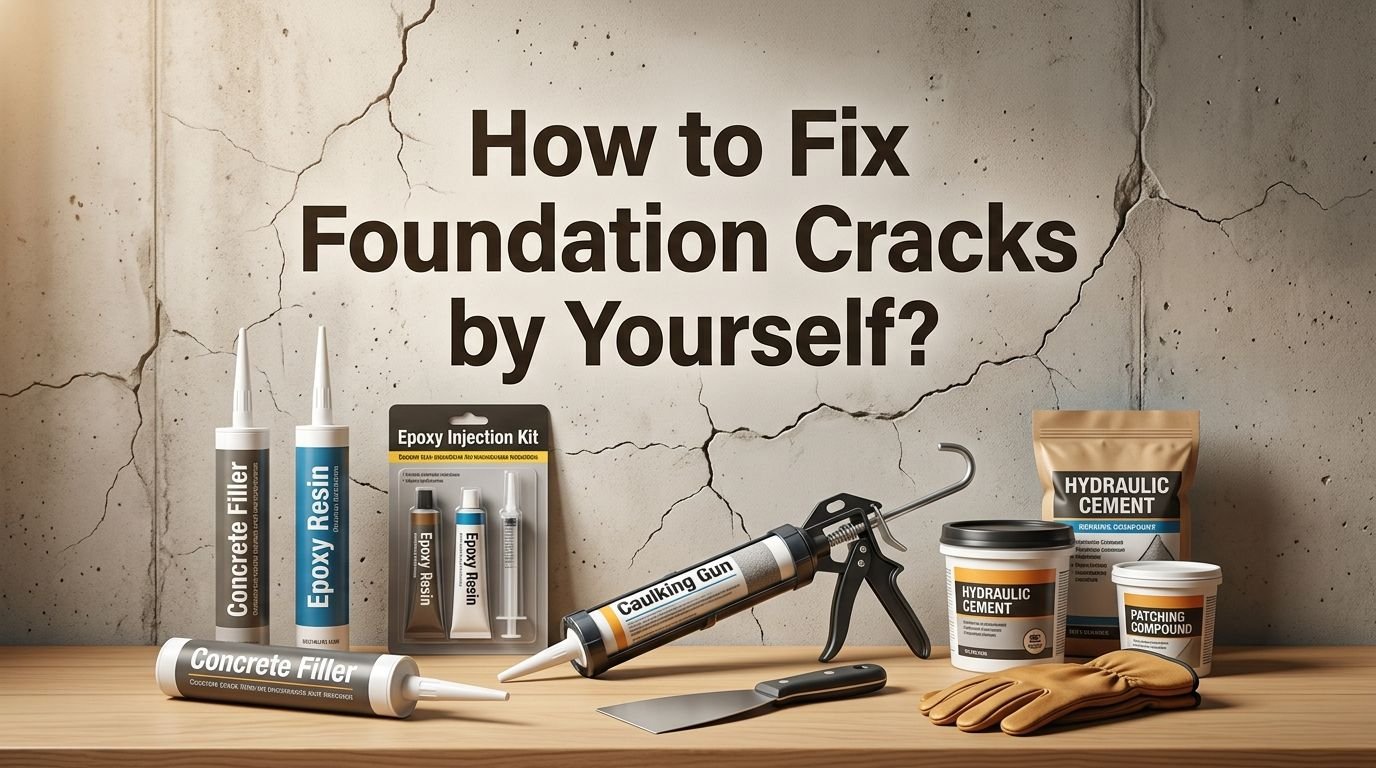
Tools and Materials You Will Need
Gathering the right supplies before you start saves time and prevents frustration. For basic crack preparation, you will need a wire brush, a cold chisel, a hammer, a shop vacuum or compressed air, and safety glasses. A dust mask is also essential to protect your lungs from concrete dust.
For the actual repair, your material choice depends on the crack type and condition. Epoxy injection requires an epoxy injection kit that includes injection ports, epoxy paste for surface sealing, and the liquid epoxy itself. Polyurethane injection requires a similar kit with polyurethane resin instead of epoxy.
For hydraulic cement repairs, you need the cement mix, a mixing bucket, a putty knife or trowel, and clean water. A spray bottle for dampening the crack is also helpful.
Additional useful tools include a caulking gun (for some injection kits), a utility knife, masking tape, and rags for cleanup. A flashlight helps you see inside deeper cracks. Keep all materials at room temperature for best results.
How to Fix Foundation Cracks with Epoxy Injection
Epoxy injection is the gold standard for repairing dry, structural cracks in poured concrete walls. The cured epoxy is actually stronger than the surrounding concrete, which makes it an excellent long term solution.
Step 1: Clean the crack thoroughly with a wire brush. Remove all loose concrete, dirt, and debris. Use a shop vacuum or compressed air to blow out fine dust.
Step 2: Attach the plastic injection ports along the crack at intervals of about 8 inches apart. Use the epoxy paste included in your kit to glue each port in place.
Step 3: Spread the epoxy paste over the entire visible crack between the ports. This creates a seal that prevents the injected epoxy from leaking out. Let the paste cure for the time specified in the instructions.
Step 4: Inject the liquid epoxy into each port, starting from the lowest one. Fill until epoxy begins to ooze from the next port above. Then plug the lower port and move up.
Step 5: Allow the epoxy to cure fully. This usually takes several hours to overnight. Once cured, snap off the injection ports and sand the surface smooth.
Pros: Restores structural strength, creates a permanent bond, works well on cracks up to 1/2 inch wide. Cons: Only works on dry cracks, requires patience during curing, costs more than other methods.
How to Fix Foundation Cracks with Polyurethane Foam
Polyurethane foam injection is the best method for wet or leaking cracks. The foam reacts with moisture to expand, which makes it perfect for sealing active water leaks. It also stays flexible after curing, so it can handle minor wall movement without cracking again.
Step 1: Clean the crack area with a wire brush. Unlike epoxy, you do not need the crack to be completely dry. Remove loose debris, but do not worry about eliminating all moisture.
Step 2: Install injection ports along the crack, spacing them 8 to 12 inches apart. Secure them with the included surface sealant or paste.
Step 3: Seal the crack surface between the ports with the supplied paste. Allow the surface seal to set according to the product directions.
Step 4: Inject the polyurethane resin into the bottom port first. The foam will expand as it contacts moisture. Move to the next port when foam begins to appear at that location.
Step 5: Let the foam cure. Polyurethane typically cures much faster than epoxy, often within minutes. Remove the ports and trim any excess foam from the surface.
Pros: Works on wet and damp cracks, cures quickly, remains flexible to accommodate minor movement, effective waterproofing. Cons: Does not restore structural strength, can shrink slightly over time, may need reapplication if the crack widens.
How to Fix Foundation Cracks with Hydraulic Cement
Hydraulic cement is an affordable and fast option for patching small cracks and stopping minor water seepage. It sets quickly, even in wet conditions, and forms a hard, waterproof plug. This method works best for cracks in basement floors and walls where water is trickling through.
Step 1: Use a cold chisel and hammer to widen the crack slightly. Create a small V shape or undercut groove that is wider at the back than at the surface. This gives the cement more area to grip.
Step 2: Clean out all loose material with a wire brush and vacuum. Dampen the crack with a spray bottle. Hydraulic cement bonds better to a moist surface.
Step 3: Mix a small batch of hydraulic cement according to the package directions. Only mix what you can use in about three minutes because it sets extremely fast.
Step 4: Press the cement firmly into the crack with a putty knife or gloved hand. Hold it in place for several minutes until it begins to harden. Smooth the surface with a trowel.
Step 5: Keep the repair area damp for the next 15 minutes to ensure proper curing. Avoid disturbing the patch for at least 24 hours.
Pros: Very affordable, sets in minutes, works on wet surfaces, easy to use, widely available. Cons: Does not restore structural integrity, can crack if the foundation moves, limited to surface repairs, not ideal for cracks wider than 1/2 inch.
Fixing Foundation Cracks from the Exterior
Most homeowners repair cracks from inside the basement, but exterior repairs can be more effective for long term waterproofing. Fixing the crack from outside addresses the source of water entry directly.
Step 1: Excavate the soil away from the foundation wall to expose the crack. This may require digging several feet deep depending on the crack location. Be cautious of underground utility lines and call your local utility locator service before digging.
Step 2: Clean the exposed wall surface with a wire brush. Remove all dirt, roots, and loose concrete from the crack and the surrounding area.
Step 3: Apply a concrete patching compound or hydraulic cement to fill the crack. For larger cracks, consider applying a flexible waterproof membrane or coating over the entire repaired area.
Step 4: Apply a waterproof sealant or membrane over the patched area. This creates an additional barrier against water penetration.
Step 5: Backfill the excavation with gravel near the wall before adding soil on top. This improves drainage away from the foundation and reduces future water pressure.
Pros: Addresses water entry at the source, provides durable waterproofing, allows inspection of the full crack. Cons: Labor intensive, requires significant digging, may need permits, not practical for deep foundations.
Preventing Future Foundation Cracks
Repair is only half the battle. Preventing new cracks from forming protects your investment and keeps your foundation strong. The most important step is controlling water around your home.
Maintain your gutters and downspouts. Make sure they are clean, free of clogs, and directing water at least 4 to 6 feet away from your foundation. Downspout extensions are cheap and easy to install. Poor gutter drainage is one of the leading causes of foundation problems.
Grade the soil around your home so it slopes away from the foundation. A minimum slope of 6 inches over the first 10 feet is recommended. This prevents rainwater from pooling near the walls and soaking into the soil around your foundation.
Avoid planting large trees too close to your home. Tree roots can extend far beyond the canopy and draw moisture from the soil beneath your foundation. This creates uneven settling. Keep large trees at least 20 feet from your foundation.
Fix plumbing leaks promptly. A leaking pipe near or under your foundation saturates the surrounding soil. Over time, this extra moisture causes soil expansion, erosion, and increased pressure on foundation walls.
Common Mistakes to Avoid During DIY Repairs
Skipping surface preparation is the biggest mistake homeowners make. If you do not clean the crack properly, no repair material will bond correctly. Always brush, vacuum, and prepare the surface before applying anything.
Using the wrong repair material leads to failed repairs. Epoxy will not cure properly in a wet crack. Hydraulic cement will not flex with wall movement. Match the material to the crack condition and type.
Overfilling or underfilling the crack creates problems too. An overfilled crack leaves a bulging, uneven surface. An underfilled crack leaves gaps that allow water back in. Apply the material evenly and follow the product instructions exactly.
Ignoring the root cause is a critical error. If water pressure or soil movement caused the crack, simply patching it without fixing the drainage or grading issue means the crack will return. Always address the underlying cause along with the surface repair.
Rushing the curing process weakens the repair. Epoxy needs hours to fully cure. Hydraulic cement needs time to harden properly. Do not paint over, load, or disturb the repair until the material has completely set.
Cost Comparison of DIY Foundation Crack Repair Methods
DIY foundation crack repair is significantly cheaper than hiring a professional. Professional foundation crack injection typically costs between $300 and $800 per crack. A professional structural repair can cost thousands. DIY materials, in contrast, are a fraction of that price.
An epoxy injection kit generally costs between $30 and $60 and provides enough material to fix one to two cracks. This is the most cost effective option for dry structural cracks. The results are comparable to professional injection when done correctly.
A polyurethane foam injection kit falls in a similar price range of $30 to $70. These kits include everything you need: ports, surface seal, resin, and tools. They are a smart investment for damp basement cracks.
Hydraulic cement is the cheapest option. A container costs around $10 to $15 and provides enough material for multiple small repairs. Add in a wire brush, putty knife, and chisel if you do not already own them, and your total cost stays well under $40.
The total cost for most DIY crack repairs ranges from $20 to $100, compared to hundreds or thousands for professional services. The savings are substantial, especially for minor cracks that do not require structural engineering.
When to Call a Professional Instead
Some foundation problems are beyond the scope of DIY repair, and recognizing when to call for help can save your home from serious damage. If a crack is wider than 1/4 inch and growing, you need a professional assessment.
Horizontal cracks with wall bowing are a strong warning sign. This pattern indicates that soil pressure is pushing the wall inward. Surface patching will not solve this problem. You may need wall anchors, carbon fiber straps, or even wall replacement.
Multiple large cracks appearing at the same time suggest widespread foundation movement. Doors and windows that suddenly stick or refuse to close properly reinforce this concern. Floors that slope noticeably or feel uneven are another red flag.
If your DIY repair fails and the crack reopens, do not simply reapply more material. A recurring crack means the underlying problem is still active. A foundation specialist can identify the cause and recommend a permanent solution.
Water entering your basement in large volumes through foundation cracks also requires professional help. A sump pump, interior drainage system, or exterior waterproofing may be needed to fully resolve the issue. Investing in a professional evaluation now can prevent a much larger and costlier repair later.
Frequently Asked Questions
Can I use caulk to fill foundation cracks?
Regular caulk is not recommended for foundation crack repair. It does not bond well to concrete and breaks down over time. Masonry caulk or concrete crack filler designed for foundations works better for very small surface cracks, but epoxy or polyurethane injection provides a far more durable and reliable repair for anything beyond a surface blemish. Caulk is a temporary cosmetic fix at best.
How long does a DIY foundation crack repair last?
A properly done epoxy injection can last the lifetime of the structure. Polyurethane foam repairs typically last 5 to 10 years or more, depending on wall movement and water conditions. Hydraulic cement patches can last several years but may need reapplication if the foundation shifts. The longevity of any repair depends heavily on surface preparation and addressing the root cause.
Are hairline cracks in a foundation dangerous?
Hairline cracks are almost always harmless. They form naturally as concrete cures and shrinks. However, you should still monitor them regularly for changes in width or length. A hairline crack that begins to widen or extend could indicate a developing problem. Sealing hairline cracks is still a good idea to prevent water infiltration and future deterioration.
Can I paint over a foundation crack instead of repairing it?
Paint alone does not fix a foundation crack. It may temporarily hide the crack, but water will continue to pass through, and the crack will reappear through the paint. Always repair the crack first, then apply waterproof paint or sealant over the repaired area for additional protection. Waterproof masonry paint adds a helpful extra barrier after the repair is complete.
What time of year is best for fixing foundation cracks?
Dry, warm weather is ideal for most foundation crack repairs. Spring and summer offer the best conditions because temperatures above 50°F help epoxy and cement cure properly. Avoid repairing cracks during freezing temperatures, as ice expansion inside the crack can interfere with adhesion. If you must repair in cold weather, use materials rated for low temperature application.
Is it safe to live in a house with foundation cracks?
Small, stable cracks are very common and do not make a house unsafe. Millions of homes have minor foundation cracks that cause no structural concern. However, large cracks, bowing walls, and actively shifting foundations do pose safety risks. If you notice rapid changes in your foundation, have it inspected by a licensed structural engineer before assuming it is safe.

Hi, I’m Rose Callahan, the creator of SpaceSmart.blog.
I review home essentials, gadgets, security tools, kitchen gear, furniture, and cleaning products from Amazon.
My goal is to help you create a smarter, more organized, and comfortable living space.
I test and share practical products that make everyday home life easier and more efficient.
Join me as I explore clever ways to upgrade your home—one smart find at a time.